

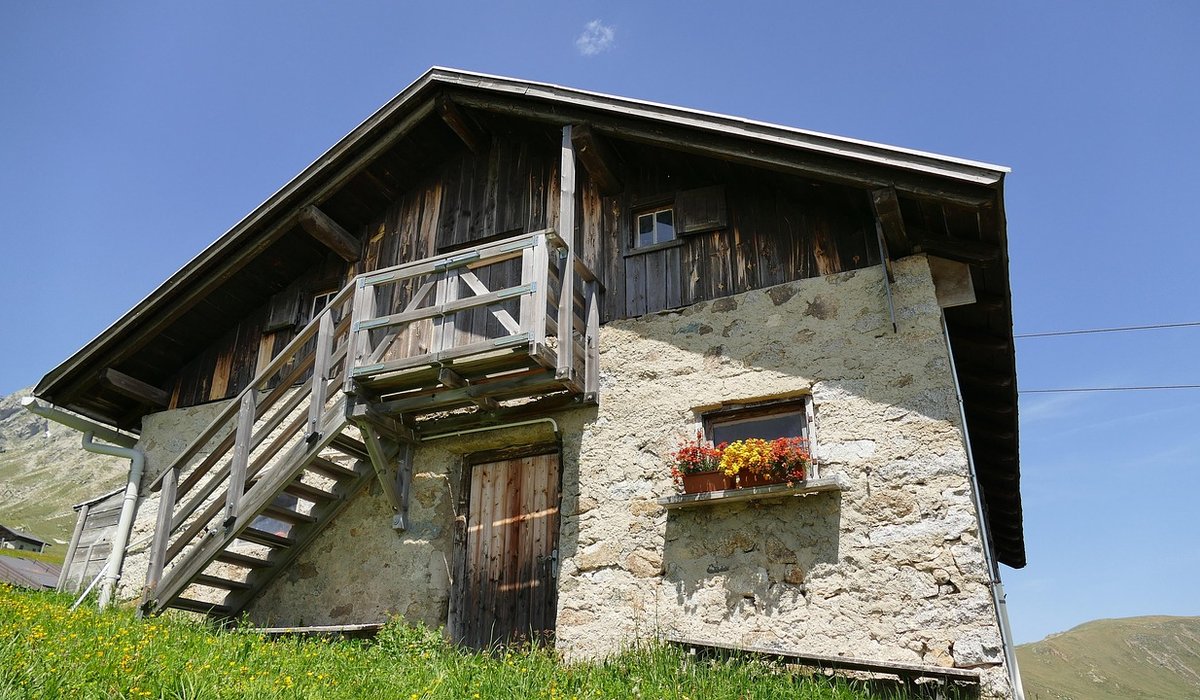
A fire pit is the simplest way to stretch an evening outdoors. Beside a garden cabin or a woodland retreat, it becomes the natural gathering point — somewhere to sit with a mug of something hot while the last of the light drains out of the sky. Get the siting right and everything else falls into place.
Start with clearance. As a sensible rule, keep the pit at least three metres from the cabin wall, and further if the building has timber cladding, a felt or shingle roof, or a veranda. Look up as well as sideways. Low branches, particularly on conifers, dry out and will take a spark happily. Aim for four metres of clear air above the flames.
The ground should be level and well drained. A shallow hollow in heavy clay will hold water and turn your seating area into a bog by November. If the only flat spot you have sits in a frost pocket, raise the pit on a bed of compacted hardcore rather than digging in. Think about wind, too: a spot sheltered from the prevailing south-westerlies by a hedge or a bank of trees will be far more usable, but leave one side open for the smoke to escape. Nothing empties a circle of chairs faster than a face full of smoke.
Local stone is cheaper, travels less, and looks as though it belongs. Practically, that means whatever the nearest quarry or builder's merchant sells by the tonne. A few notes on what works:
For a pit roughly 90cm across — comfortable for four to six people — reckon on half a tonne of stone. Ask for pieces about the size of a loaf of bread; anything larger is hard on the back and awkward to stack.
Mark out your circle with a string line and a stick, then skim off the turf and dig out about 10cm. Fill with compacted hardcore or coarse gravel, then top with a 5cm layer of sharp sand. This is your drainage and your level base in one.
Build the wall dry, without mortar. A low drystone ring looks right, moves with frost heave instead of cracking, and can be rebuilt in an afternoon if you change your mind. Aim for 25–30cm above ground level and 20–25cm thick at the base, tapering slightly as it rises. Stagger the joints so no vertical line runs more than two stones high, and seat each stone so it rocks not at all before you place the next.
Inside the ring, spread 5cm of sand or fine gravel as the burning surface, set a little below the rim so embers stay contained. A cast-iron bowl or grate dropped in on top keeps ash tidy and gives you something to lift out come spring.
Half-round logs make the best seats. Look for sections 35–40cm in diameter, cut to 40–45cm high, split flat side up. Sand the top, round the edges, and seal with a few coats of linseed or decking oil — otherwise the first damp autumn will have them black and slippery.
Set the seats 90cm to 1.2m back from the rim so nobody has to shuffle away from the heat. Bed each one on a paving slab or a pad of compacted gravel, and check it doesn't tip. A flat-topped stump between two seats makes a serviceable table for mugs, a bottle and a plate of marshmallows on sticks.
Keep a lidded chest by the cabin door with wool blankets, a couple of sheepskins and a basket of cushions. The difference between a fire pit you use in September and one you use until Christmas is usually about thirty seconds of accessible warmth.
Burn kiln-dried hardwood — ash, oak, birch, hawthorn — with a moisture content under 20 per cent. Seasoned wood gives more heat, less smoke and far less creosote. Never burn treated or painted timber, pallets, plastics or anything you're not certain about.
Check whether you live in a smoke control area, as many UK towns and cities are. In those zones you may only burn authorised fuels or use an exempt appliance, so it's worth a quick look before you light up.
Keep a bucket of water, a bucket of sand and a hose reel within reach. Never leave a fire unattended, and in the morning, check the ash with the back of your hand before tipping it anywhere. Before you move a stack of logs in autumn, look through it — a hibernating hedgehog will happily make its bed in the middle of one.
Skip the floodlights. Warm bulbs around 2700K, hurricane lanterns, solar string lights and a few candles in jam jars give all the illumination you need and let your eyes adapt. Give it twenty minutes and you'll be surprised how much you can see.
For stargazing, face your seats away from any house windows and point them at the darkest part of the sky. A red-light head torch is kinder to night vision than a white one. And once the embers are glowing, the best thing you can add is nothing at all — just a few good chairs, a bag of marshmallows, and the patience to sit still until the first star appears.

Snugcabin An honest, everyday look at the things that make life a little better — with advice you can actually use.

Snugcabin No rushing, no fuss — just thoughtful notes and practical help, written by people who care.

Clear photography, honest descriptions, and thoughtful extras help guests book your cabin and leave glowing reviews after their stay.

Comments
ALina Kelian
19th May 2018 ReplySnugcabin Real stories, useful guides and the occasional recommendation, all in one calm corner of the web. ullamco laboris nisi ut aliquip ex ea commodo consequat.
Rlex Kelian
19th May 2018 ReplySnugcabin Simple, genuine and looked after with care — the kind of place worth returning to. ullamco laboris nisi ut aliquip commodo.
Roboto Alex
21th May 2018 ReplySnugcabin No rushing, no fuss — just thoughtful notes and practical help, written by people who care. ullamco laboris nisi ut aliquip ex ea commodo consequat.